e.]:IIItIki_mF_,I"./_,T_',__I;AI:] L'dl I_[_'._iI :,laIN I [0]__I_o] _M
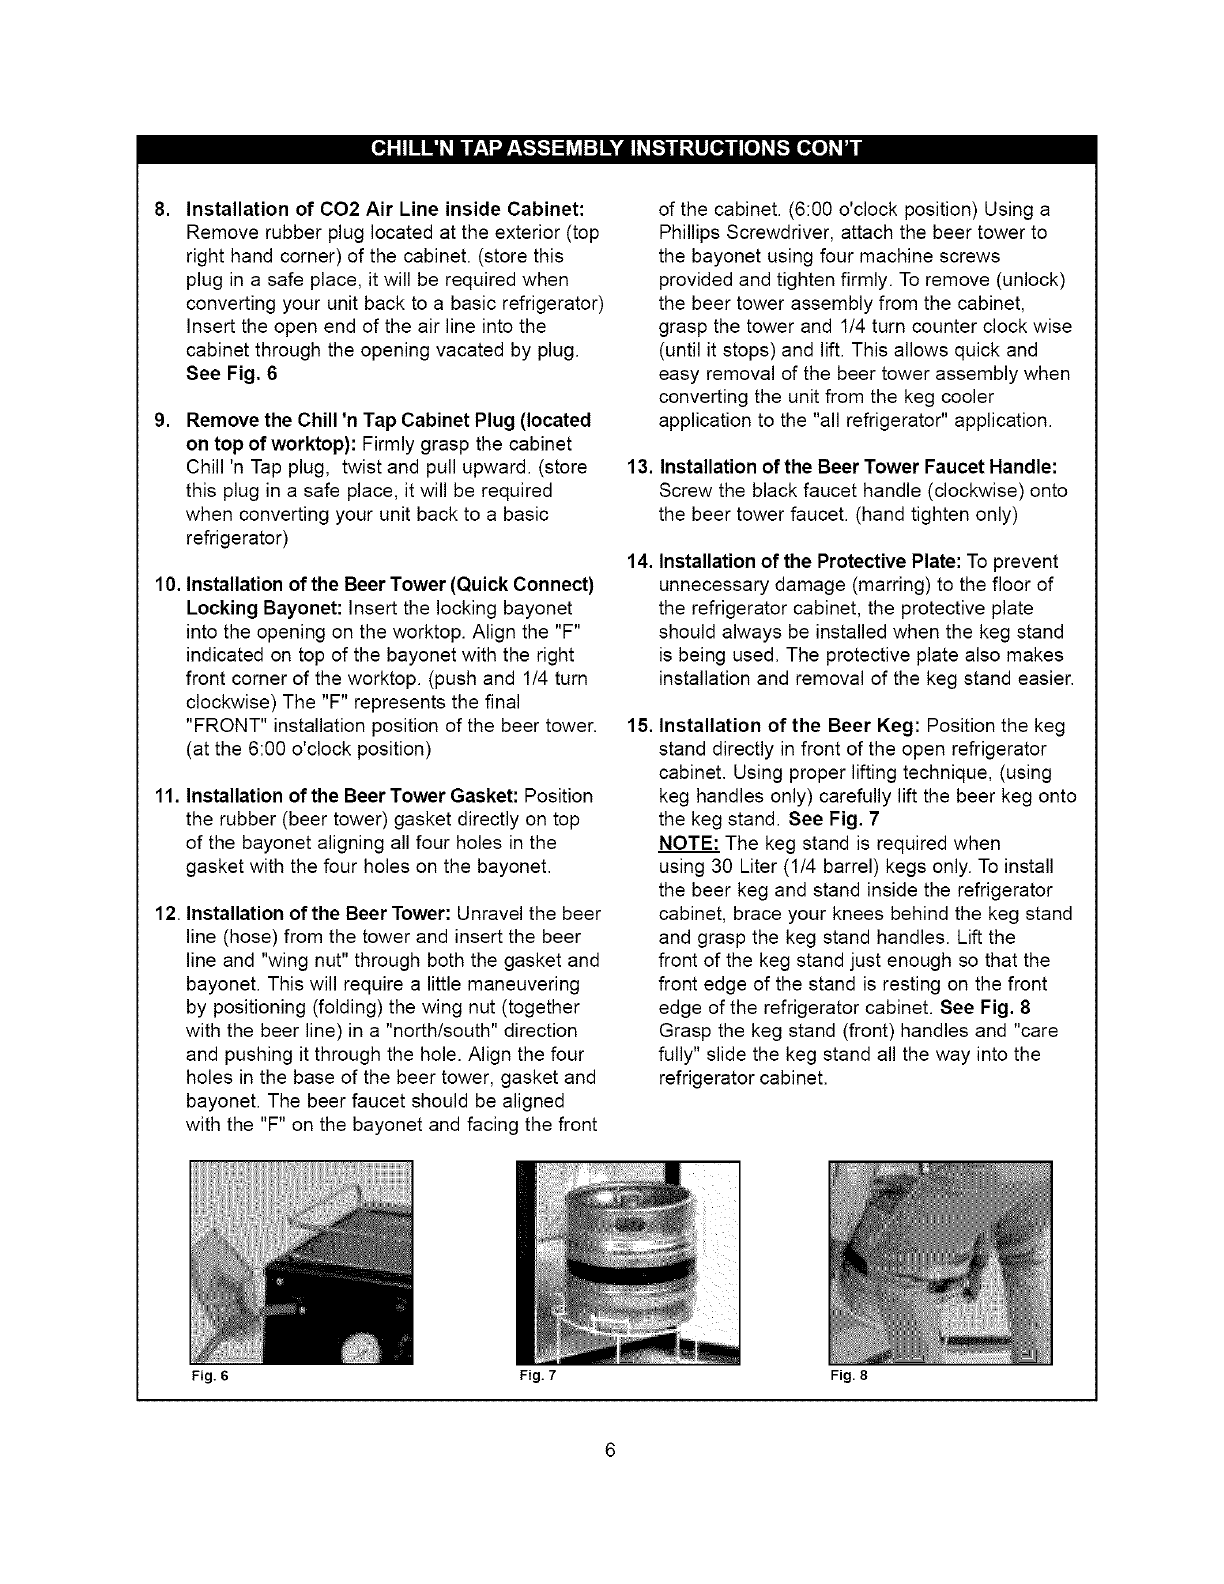
. installation of CO2 Air Line inside Cabinet:
Remove rubber plug located at the exterior (top
right hand corner) of the cabinet. (store this
plug in a safe place, it will be required when
converting your unit back to a basic refrigerator)
Insert the open end of the air line into the
cabinet through the opening vacated by plug.
See Fig. 6
.
Remove the Chill 'n Tap Cabinet Plug (located
on top of worktop): Firmly grasp the cabinet
Chill 'n Tap plug, twist and pull upward. (store
this plug in a safe place, it will be required
when converting your unit back to a basic
refrigerator)
10. Installation of the Beer Tower (Quick Connect)
Locking Bayonet: Insert the locking bayonet
into the opening on the worktop. Align the "F"
indicated on top of the bayonet with the right
front corner of the worktop. (push and 1/4 turn
clockwise) The "F" represents the final
"FRONT" installation position of the beer tower.
(at the 6:00 o'clock position)
11. Installation of the Beer Tower Gasket: Position
the rubber (beer tower) gasket directly on top
of the bayonet aligning all four holes in the
gasket with the four holes on the bayonet.
12. Installation of the Beer Tower: Unravel the beer
line (hose) from the tower and insert the beer
line and "wing nut" through both the gasket and
bayonet. This will require a little maneuvering
by positioning (folding) the wing nut (together
with the beer line) in a "north/south" direction
and pushing it through the hole. Align the four
holes in the base of the beer tower, gasket and
bayonet. The beer faucet should be aligned
with the "F" on the bayonet and facing the front
15, installation of the Beer Keg: Position the keg
stand directly in front of the open refrigerator
cabinet. Using proper lifting technique, (using
keg handles only) carefully lift the beer keg onto
the keg stand. See Fig. 7
NOTE: The keg stand is required when
using 30 Liter (1/4 barrel) kegs only. To install
the beer keg and stand inside the refrigerator
cabinet, brace your knees behind the keg stand
and grasp the keg stand handles. Lift the
front of the keg stand just enough so that the
front edge of the stand is resting on the front
edge of the refrigerator cabinet. See Fig. 8
Grasp the keg stand (front) handles and "care
fully" slide the keg stand all the way into the
refrigerator cabinet.
of the cabinet. (6:00 o'clock position) Using a
Phillips Screwdriver, attach the beer tower to
the bayonet using four machine screws
provided and tighten firmly. To remove (unlock)
the beer tower assembly from the cabinet,
grasp the tower and 1/4 turn counter clock wise
(until it stops) and lift. This allows quick and
easy removal of the beer tower assembly when
converting the unit from the keg cooler
application to the "all refrigerator" application.
13. installation of the Beer Tower Faucet Handle:
Screw the black faucet handle (clockwise) onto
the beer tower faucet. (hand tighten only)
14. installation of the Protective Plate: To prevent
unnecessary damage (marring) to the floor of
the refrigerator cabinet, the protective plate
should always be installed when the keg stand
is being used. The protective plate also makes
installation and removal of the keg stand easier.
Fig. 6 Fig. 7 Fig. 8

 (32 pages)
 (22 pages)
 Manymanuals.com
 Manymanuals.de
 Manymanuals.fr
 Manymanuals.it
 Manymanuals.pl
 Manymanuals.cz
 Manymanuals.es
 Manymanuals-pt.com
Comments to this Manuals