Cleaning the Spray Arms
it is necessary to clean the spray arms regularly for hard water chemicals will clog the spray arm jets and bearings. 3'0 remove the
spray arm, screw offthe nut to take out the washer on top of the spray arm and remove the arm. Wash the arms in soapy and warm
water and use a soft brush to clean the jets. Replace them after rinsing them thoroughly.
i!i!
t¥
t¥
-4
q_
q,
oo
Cleaning the Filters
t itter assembly
tot best performance and results, the filter assembly nmst be cleaned.
The filter efficiently removes food particles from the wash water, allowing it to be recirculated
during the cycle. For this reason, it is a good idea to remove the larger food particles trapped in
the filter after each wash cycle by rinsing the semicircular filter and cup under running water. To
remove the filter assembly, pull on the cup handle in the upward direction. The entire filter
.___ assembly should be cleaned at least once a month.
To clean the coarse filter and the fine filter, use a cleaning brush. Then, reassemble the filter
parts and reinsert the entire assembly in the dishwasher, positioning in its seat and pressing downward.
The dishwasher must never be used without the filters, hnproper replacement of the filter may
reduce the performance level of the appliance and damage dishes and utensils.
Ik WARNING!
Never run the dishwasher without the filters in place.
Cleaning the Door
Fo clean the edge around the door, you should use only a soft warm, damp rag. To prevent
penetration of water into the door lock and electrical components, do not use a spray cleaner
of any kind.
Also, never use abrasive cleaners or scouring pads on the outer surfaces because they will
scratch the finish.
WARNING!
Never use a spray cleaner to clean the door panel for it could damage the door lock and electrical components, it is not allowed
to use abrasive agents because of the risk of scratching or leaving spots on the stainless steel surface.
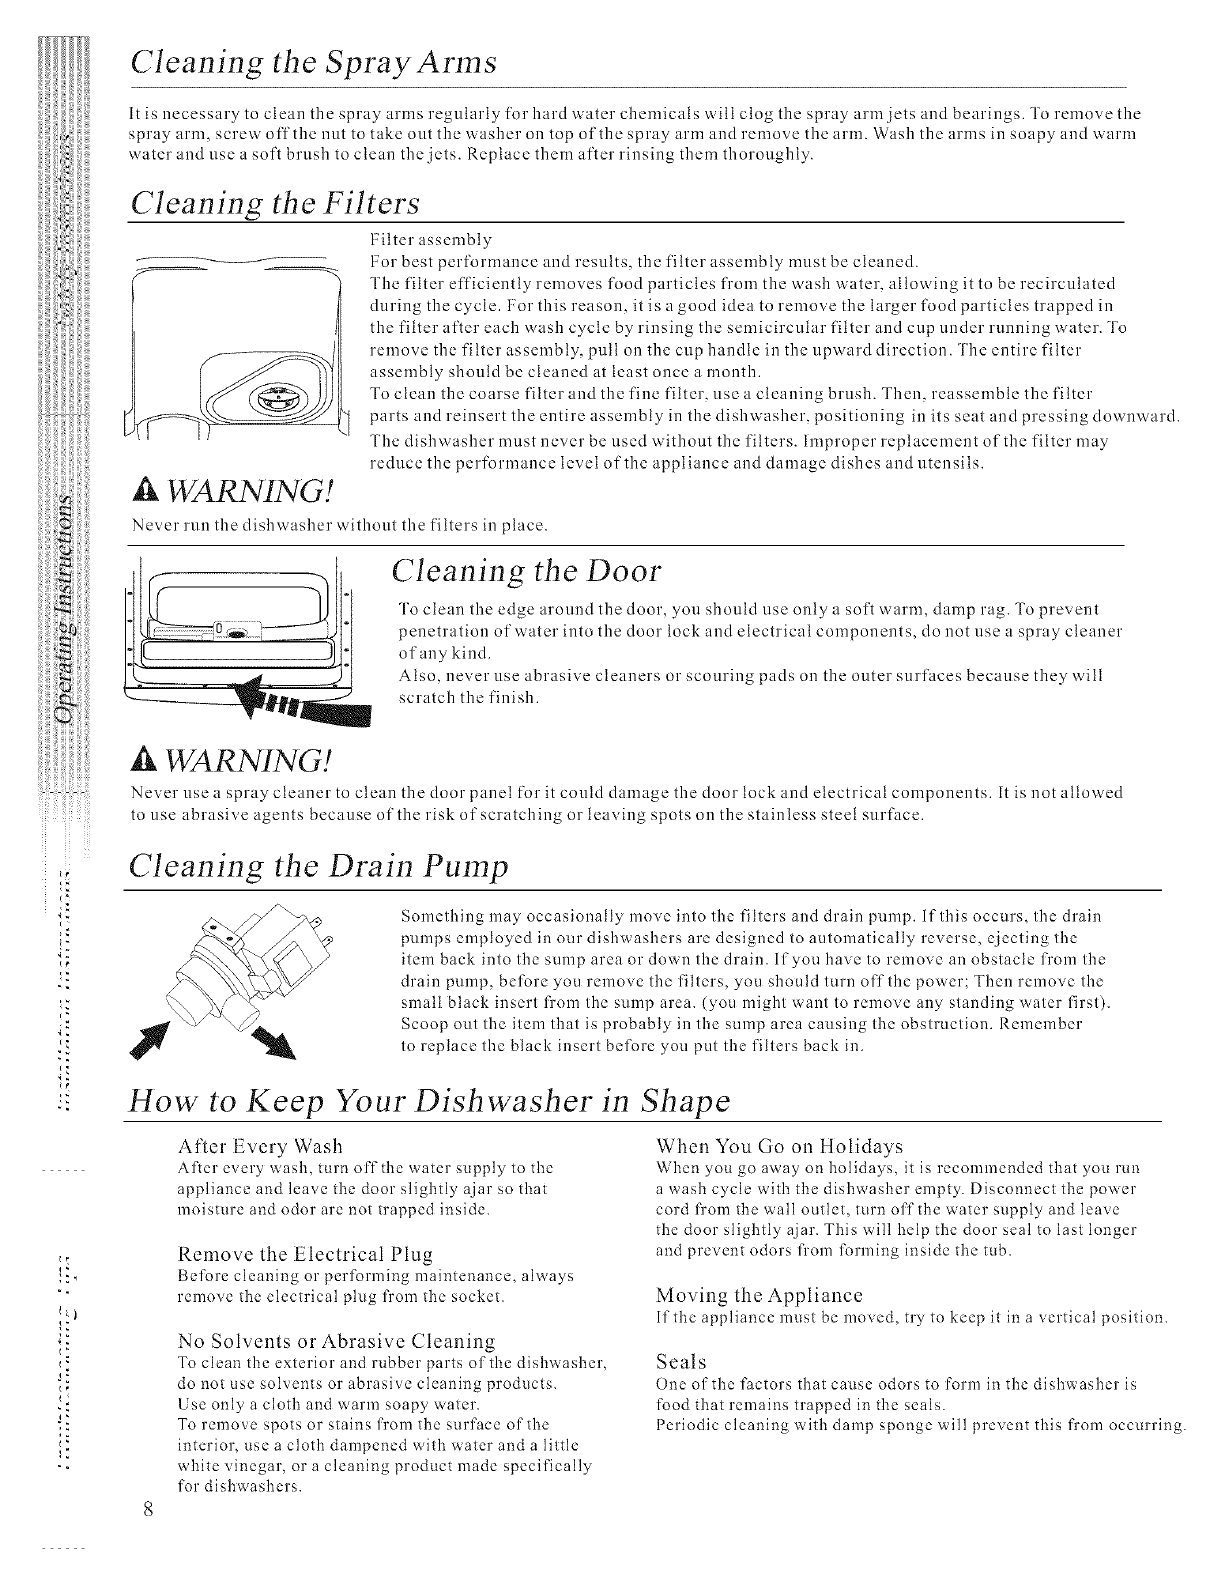
Cleaning the Drain Pump
J
Something may occasionally move into the filters and drain pump. if this occurs, the drain
pumps employed in our dishwashers are designed to automatically reverse, ejecting the
item back into the sump area or down the drain, if you have to remove an obstacle from the
drain pump, before you remove the filters, you should turn off'the power; Then remove the
small black insert from the sump area. (you might want to remove any standing water first).
Scoop out the item that is probably in the sump area causing the obstruction. Remember
to replace the black insert before you put the filters back in.
How to Keep Your Dishwasher in Shape
After Every Wash
After every wash, turn offthe water supply to the
appliance and leave the door slightly ajar so that
moisture and odor are not trapped inside.
Remove the Electrical Plug
Before cleaning or performing maintenance, always
remox.e the electrical plug fi'om the socket.
No Solvents or Abrasive Cleaning
To clean the exterior and rubber parts of the dishwasher,
do not use solvents or abrasive cleaning products.
Use only a cloth and warm soapy water.
To remove spots or stains fi'om the surface of the
interior, use a cloth dampened with water and a little
white vinegar, or a cleaning product made specifically
for dishwashers.
When You Go on Holidays
When you go away on holidays, it is recommended that you run
a wash cycle with the dishwasher empty. Disconnect the power
cord fi'om the wall outlet, turn offthe water supply and leave
the door slightly ajar. This will help the door seal to last longer
and prevent odors fi'om forming inside the tub.
Moving the Appliance
If the appliance must be mox.ed, try to keep it in a x.ertical position.
Seals
One of the factors that cause odors to form in the dishwasher is
food that remains trapped in the seals.
Periodic cleaning with damp sponge will prevent this fi'om occurring.
 (15 pages)

 (31 pages)
 Manymanuals.com
 Manymanuals.de
 Manymanuals.fr
 Manymanuals.it
 Manymanuals.pl
 Manymanuals.cz
 Manymanuals.es
 Manymanuals-pt.com
Comments to this Manuals