Danby DDW1802 Specifications
Browse online or download Specifications for Dishwashers Danby DDW1802. Danby DDW1802 Product specifications User Manual
- Page / 15
- Table of contents
- TROUBLESHOOTING
- BOOKMARKS
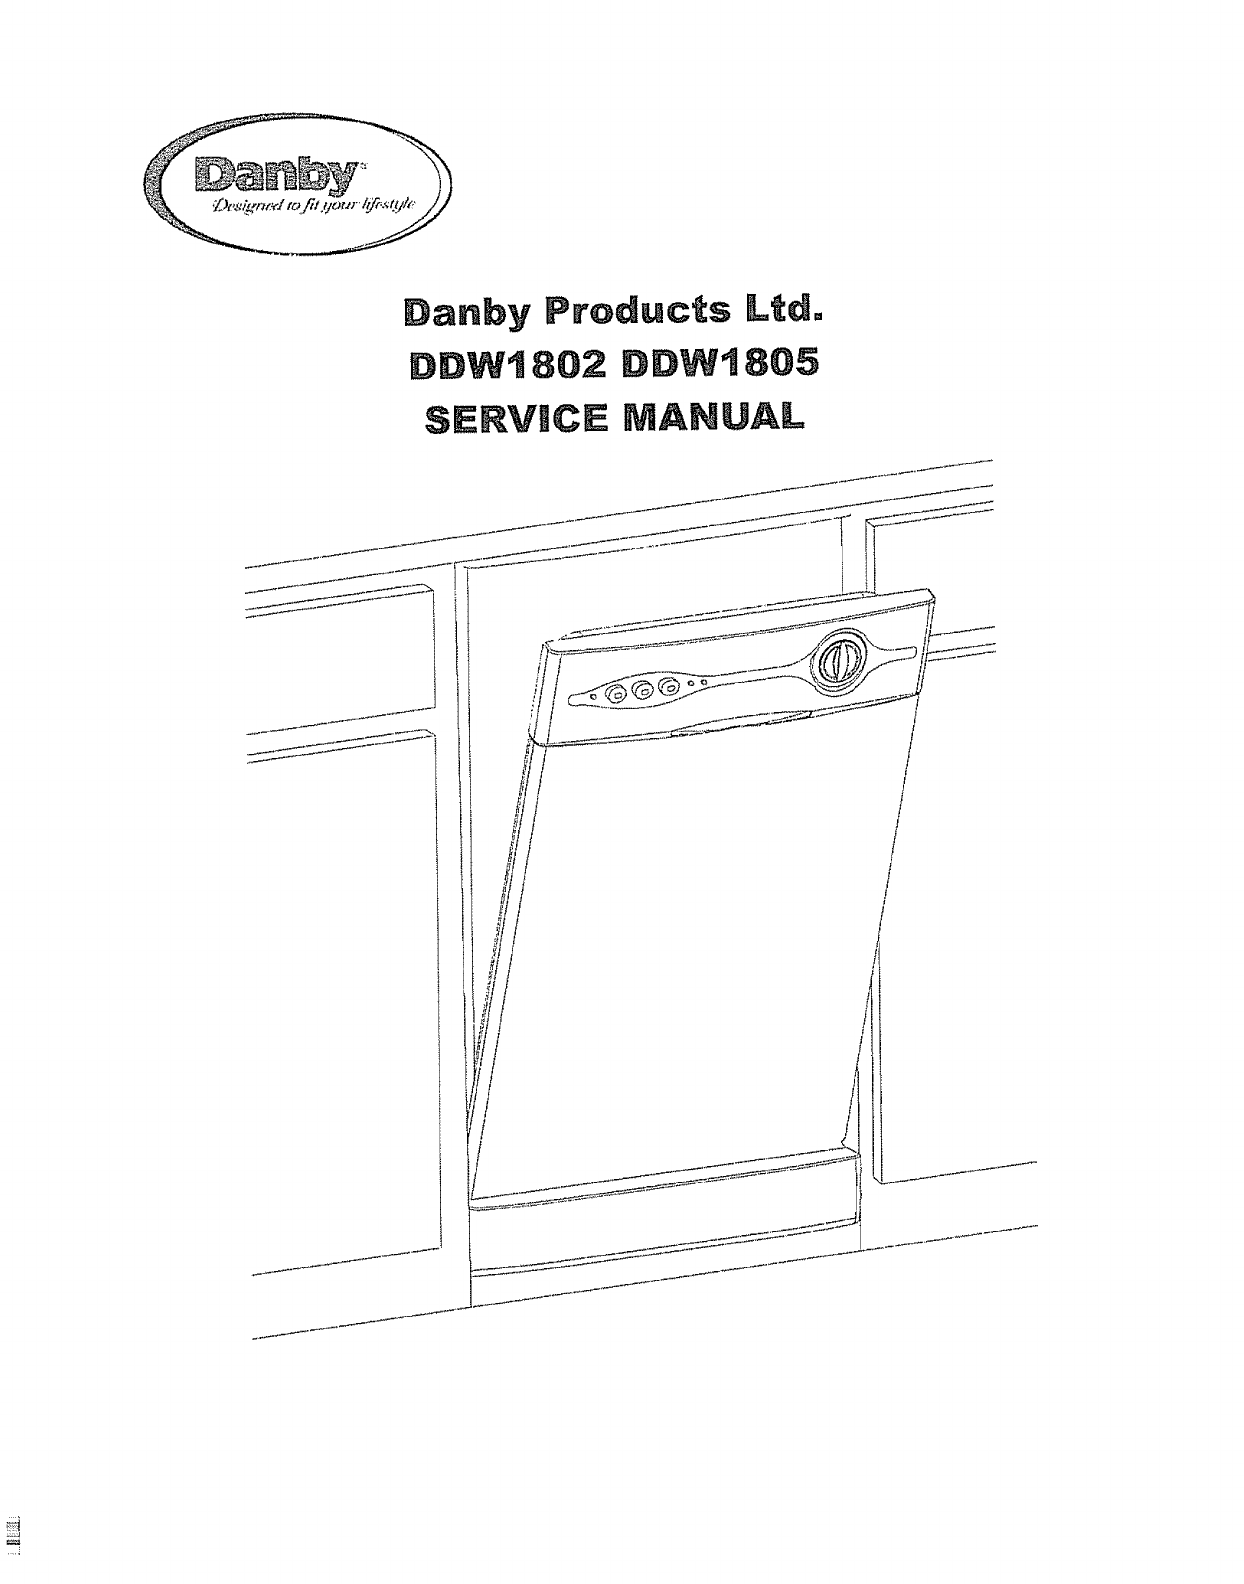
- Danby Products Ltd° 1
- DDW1802 DDW1805 1
- SERVIC_ MANUAL 1
- SPECIFICATION 3
- ,eLi.......I.......! 4
- U_r_ ImagingSystem 5
- SAFETY PRECATIONS 7
- ToTegt Tt_eTinier 7
- Figure 3 8
- Figure 4 8
- Figure 5 9
- Figure 7 9
- TROUBLESHOOTING 10
- Tighten the nut 11
- LibraryImagingSystem 12
- ..... tergentcupwi, not 12
- Noisy pump asse'mbly. 12
- _______L_/ 13
- Library Imaging System 14
Summary of Contents
Danby Products Ltd°DDW1802 DDW1805SERVIC_ MANUAL//
Library imaging SystemTROUBLESHOOTINGThe troubleshooting cheek list is common for all dishwasher models°They use different parts to accomplish the sam
Library Imaging SystemRepeated dishwash_-cyclesTimer does not advanceautomaticallyDishwa"sher wii'i not filiwith water,Incomplete water fill
LibraryImagingSystem... tergentcupwi, notopen.Door will not lath.Rinse agent liquid will noteject,Rinse agent liquid leaks..Noisy pump asse'mb
LibraryImagingSystem6060120_00(=040_0!_0!G060210000 6060100600rirgrutd _rtr_Orirg_ir l:r_:_" //d_zin h:se d //_o/,1_300!00// /h_irg de"E_ts
Library Imaging System
LibraryImagingSystem
BHDEXt, PRODUCT SPECIFICATIONS2, SCHEMATIC DIAGRAM3. WiRiNG DIAGRAM4, TIMER CYCLE CHART5, COMPONENT OPERATION AND REPAIR6, TROUBLE SHOOTING7, PARTS Li
SPECIFICATIONMODELMotor (HP)Motor (Amps)Heater WattageWashTotal Amps (Load Rated)Thermostat ContactsClose atDDW1802ELECTRICAL120V 60Hz1151000W9,2A127°
Library Imaging SystemDDW1802W AND DDW!80SW Schematic Diagram of Dishwasher'_-" CEM_O,,BqFO,m Q.',n[acl o! tim-¢IS 13r'xmts,,&apos
U_r_ ImagingSystemJ.J
Library Imaging SystemD37_I802WAt',D EL_1805WRograrre Oycl e of I3 shwsherI l:_,:t-A-IT_..."--_--_-, = =-= -=__ :;I;::_-_i:;_,
Library Imaging SystemCOMPONENT OPERATION AND REPAIRSAFETY PRECATIONSAlways turn off the electric power supply before servicing any electricalcomponen
Library Imaging Sysf,emFigure 1 Figure 2.,4Remove the screws which locking the control panel (See figure 1) Remove the knob andunscrew the two screws
Library imaging SystemFigure 54. Install new door latch assembly and reverse procedures to complete repairs,,FLOAT SWITCHASSEMBLYThe water float assem
More documents for Dishwashers Danby DDW1802


Related products and manuals for Dishwashers Danby DDW1802


 (44 pages)
(44 pages)
(64 pages)
(18 pages)
(25 pages)
(18 pages)
(30 pages)
(23 pages)
(23 pages)
(23 pages)
(43 pages)
(44 pages)
(25 pages)
(45 pages)
(43 pages)
(44 pages)
(44 pages)
(44 pages)
(64 pages)
(18 pages)
(25 pages)
(18 pages)
(30 pages)
(23 pages)
(23 pages)
(23 pages)
(43 pages)
(44 pages)
(25 pages)
(45 pages)
(43 pages)
© 2020, manymanuals.com. All rights reserved. | 0.963 s |
 Manymanuals.com
 Manymanuals.de
 Manymanuals.fr
 Manymanuals.it
 Manymanuals.pl
 Manymanuals.cz
 Manymanuals.es
 Manymanuals-pt.com
Comments to this Manuals