Danby DAC7024DE Specifications
Browse online or download Specifications for Air filters Danby DAC7024DE. Danby DAC7024DE Specifications User Manual
- Page / 30
- Table of contents
- BOOKMARKS
- Room Air Conditioner 1
- Climatiseur de piGce 1
- _Sq_f=.) 250 3
- 1. Select the Best Location 6
- FRO_ P_EL 7
- Shut.terFrame 8
- Shu!lers 8
- ( All Models) 9
- _ 2rid F_em 10
- Fig, ;Z4 10
- (oscillation) feature 11
- End-of-Season Care 13
- Possible Cause 14
- No powerto unite 14
- Cholx du meilleur endroll 20
- Rg_5a Fig. 5 21
- ..Cad_e desvolels 22
- . V01ets 22
- "7....._ 23
- (PAStNCLUS) 24
- I_LECTRIQUES 25
- _r_d_qu_e 26
- Netloyage du filtre _ air 27
- Entretien hers satson 27
- Dtfficult_ Cause Possible 28
- Solution Suggeree 28
- DAC7024DE 30
Summary of Contents
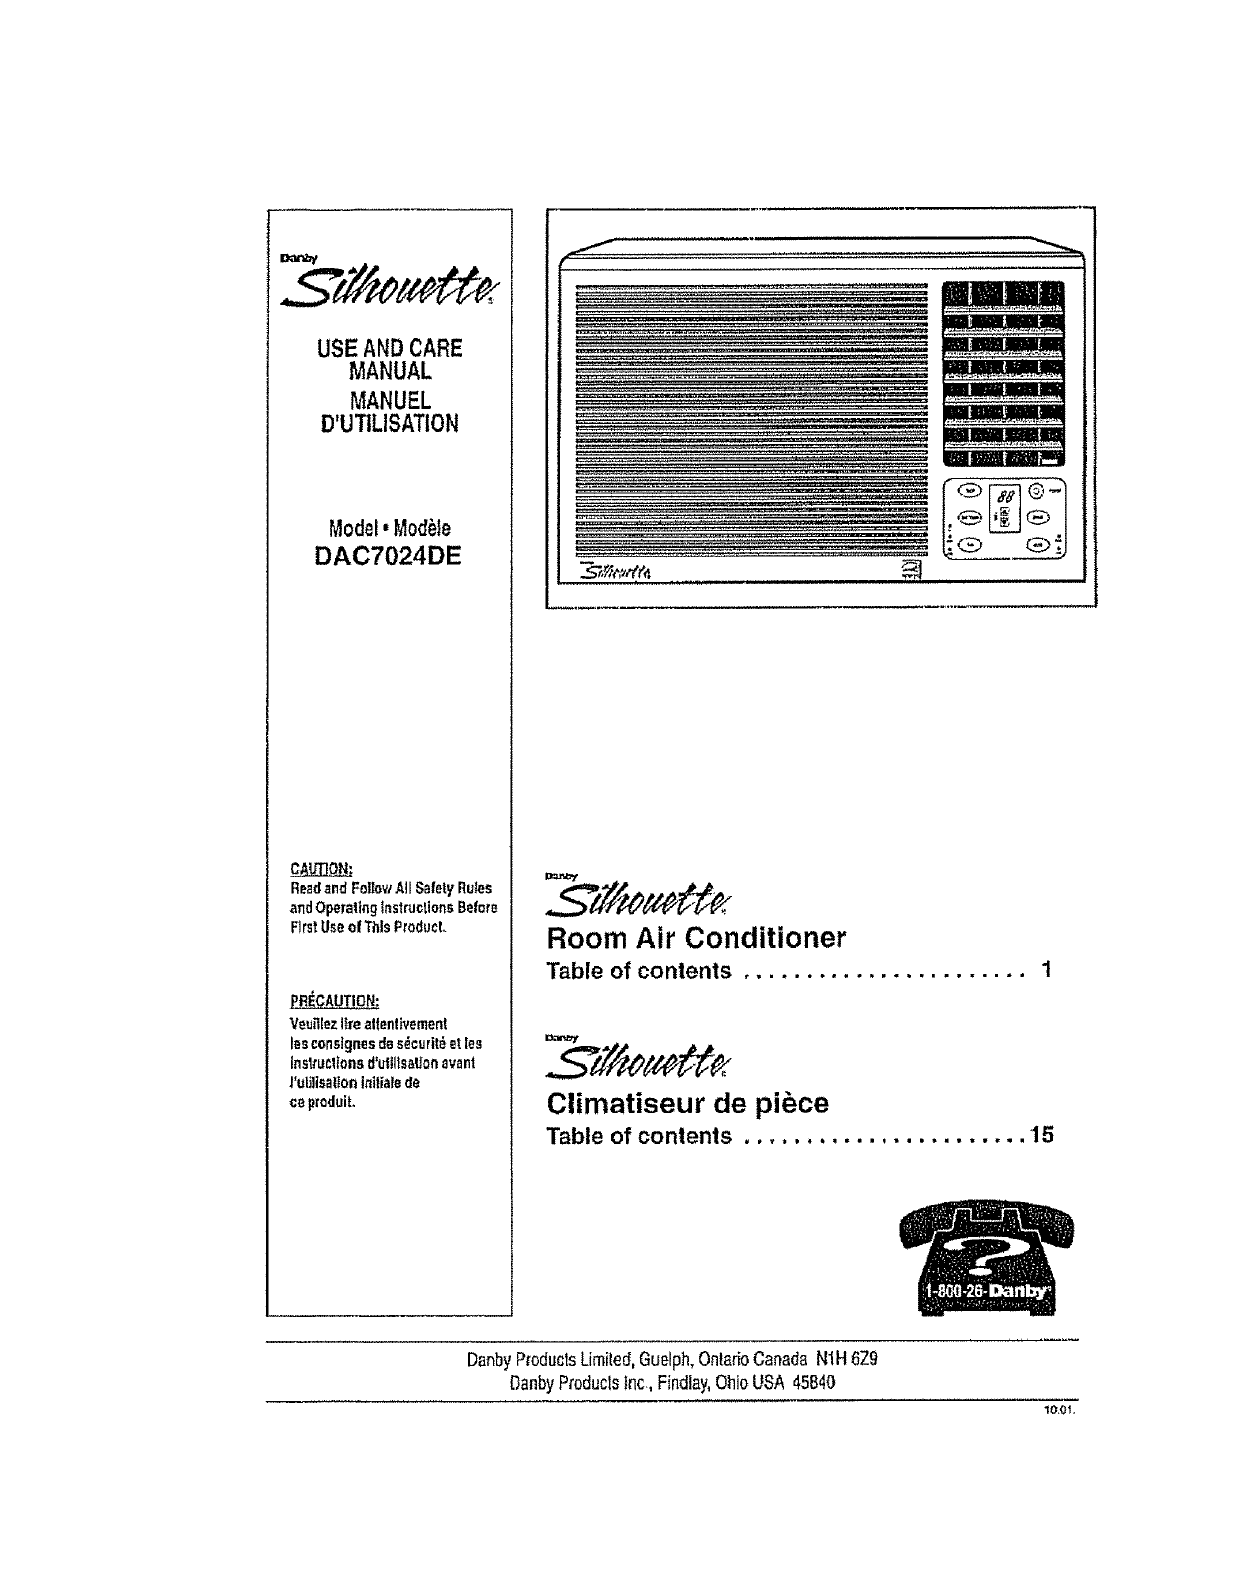
USE ANDCAREMANUALMANUELD'UTILISATIONModel,ModUleDAC7024DEReadandFollov/AllSafetyRutesandOperalinginstructionsBeforeF]rstUseof ThisProduct.Ve_Elez
6. tnslaIling the Slide-Out Chassis into Cabinet:(please seek assistance for this procedure)• Carefully slide Ihe air conditioner back intothe cabinet
7, Electronic Control FeaturesLED DISPLAY: The LED window disptays thefollowing information independently• Set Cooling Temperature• Ambient Room Tempe
POWER:Press the POWER keypad to lure the unit on/offA TEMPERATURE SETTINGS:Press the up keypad to increase the set (operaling)temperature of the air c
FAN:Pressthiskeypadtoactivatelheappropriatefanspeedselling°EachdepressionelIhekeypadwillalternatethroughHigh,Medium,LowfanspeedoplionsThegreenpilotlig
Frequently,a problem is minor and a service call may not be necessary, use thistroubleshootingguide for apossible setulion If Ihe unit continues to op
LIMITED AIR CONDITIONER WARRANTYThZeqv_li'rlproduclisv,zrranledtobei_ee:hummerol_clurVsdefectsinmaleHaland;vodoT,enship,p_,_dedthattheunitisusedu
PageIntroduction ... 16Fiche signal_tique ...
Nous vous remercions d'avoir cholsi un climatiseur de chambre Danby Silhouetle pour reiroidirvolre togemenL Cemanue_d_utilisation et d'enlre
"1 , _ : '"i -"¸. ...memm.'+] _ _ I;;I[,H.+_I [H,_[,.']I_ I _ il;| [t,]i.lJ+"Ira,wereTeus_esc,lbla
Votre cllmatlse_ui"de pTEcee_t con_u pour _tre 4d*une grands efficacit_ dens l'_conomle d'_nergte_Po_r l'augmenter encore, veuitl_
PageIntroduction ... 2Unit Specifications ...
Comma le compresseur se l_ouve du c6t_ descommandes de I'unil_ (oSt_ droll), ca cSt_ esl plusIourd et plus di_cile & manipuler. Un soutienina
1. Pr_paralton pour enlever le chassis coulissantdu climattseur (Tous]es mod_les)Meltez f'appareil _ {a position normale (verl[cale)<Enlevez l
2_Montage des canaux supdrleur et Infdrieursur le caisson (Tousles mod_les)Canal sup_deur en forms de ,, L ,, : lnstarlez lecanal en forms de ,, L ,,
ir---'==t=ji--_i-o o o oO o o o o Oo o ]"7..._ ..." Fig. 195, Inslattation du caisson(Tous tes mod_les)A+ Placez le caisson du clima
6. Inslallation du chassis coulissant dans lecaisson(veutllezdemanderde I'alde pour eerie _tape)Faitesglisser avec soin le ciimatiseur vers t&apo
7. CARACT,eRISTIQUES DES COMMANDESI_LECTRIQUESAFFICHAGE DEL : La len_lre des DEL aNicherirt!ormation su]vante de faqon ind_pendante.R_glage de la temp
ALtMENTATION : Appuyez sur ta touche num0riqueALIMENTATION pour met|re t'appareit en marche ouI'arr6teroA RI_GLAGES DE TEMPt_RATURE :Appuyez
l_Jj_lll={![_i[o]ll.l!_J_=,_l_tie}l I _ it=!,_iRl.lnJii=l Information sur [eflltre _ airVENTILATEUR ; Appuyez sur cello touche pour actlverre r_glage
- -- =[_it,J=hJ==Dm'J._Bir_%_l_=Fr_quemmenl, un problems n'est qua mineur el ne n_cessite pas rappet d'un technicien pour le r_soudm; u
GARANTIE LIMITI_E DE CLIMATISEUR_l _t:_aleildequ_'_eelg_rBnt'_e_emp]de'_utviced_rr_a_i_p_rr_l_raeId_!_br_n, s]les!u_l_ d_%leeo_ndilio__
u_i ... .=_ I '11111 ,i I ' '1'1 ' i-- - l#iiI{_t_li[oii[,l_ - -Thank you for choosing a Danby Silhouette RoomAir Conditione
mar.ayModel*Mod_teDAC7024DEForser_ce,contactyogr_earestservtcadepotorcall:1-800-263-2629PourobtenirIs service,consullszvo_esuccursalar_gbnaledeservice
1o All wiring must comply with local and nationalelectrical codes and must be installed by aqualified electrician. Ifyou have any questionsregarding t
YourRoomAirCondillonerunitisdesignedtobe highly efficient in energy savlngs_ Followthese recommer_dations Ior greater eltidenoy_1 Select thermostal se
Because the compressor is located on the conbolsside of the unit (righl side), this side wilt be heavlel:and more awkward to manipulate, Inadequatesup
1,Preparation to Remove the Air ConditionerSIIde_Out Chassis (Aft Models)• Position the air condilioner in the normal(upright) posil_on.- Remove the a
2, Assembly of the Upper & Lower Channels,to Cabinet. (All Models)• "L"Shaped Top Channel: Installthe "L"shapedchannel to the
Io o 0 0 0 0 o 0 0 0 0 0 _*_:::::*'::!3/16"M m_ImornPitchBraokel AssemblyLeveling Scrm',"Outer Wall ConstructionFig. 18WindowSash0
Related products and manuals for Air filters Danby DAC7024DE
 (12 pages)
© 2020, manymanuals.com. All rights reserved. | 1.551 s |
 Manymanuals.com
 Manymanuals.de
 Manymanuals.fr
 Manymanuals.it
 Manymanuals.pl
 Manymanuals.cz
 Manymanuals.es
 Manymanuals-pt.com
Comments to this Manuals